すべてのガイドに戻る
2026-01-12
AIベビー動画の作り方
このガイドでは、最もシンプルなワークフローを説明します:正しい方法を選び、明確な入力(写真またはプロンプト)を使用し、適切な比率を設定して生成します。まずステップに従い、次に以下の実例を再利用してください。
クイックステップ
1分以内で完了できる簡単なチェックリスト。
- 1ベビービデオツールを開く。
- 2方法を選択:写真→動画(より一貫性)またはプロンプト→動画(より創造的)。
- 3明確な正面写真を使用するか、短いモーション中心のプロンプトを書く。
- 4アスペクト比を設定(TikTok/Shortsは9:16)し、時間を短く保つ(5秒から始める)。
- 5生成してから反復:必要に応じてクロップ/照明を改善し、モーションを簡素化する。
- 6エクスポートして投稿(定着率向上のためキャプションを追加)。
選択可能なツールオプション
モード:テキストから動画画像から動画
アスペクト比:9:1616:9
長さ:5s10s
解像度:480p720p1080p
- 画像から動画モードでオーディオを有効にすると解像度が表示されます。
チュートリアル例(プロンプトと設定付き)
以下の各例は、このガイド用に事前選択されています(ランダムではありません)。
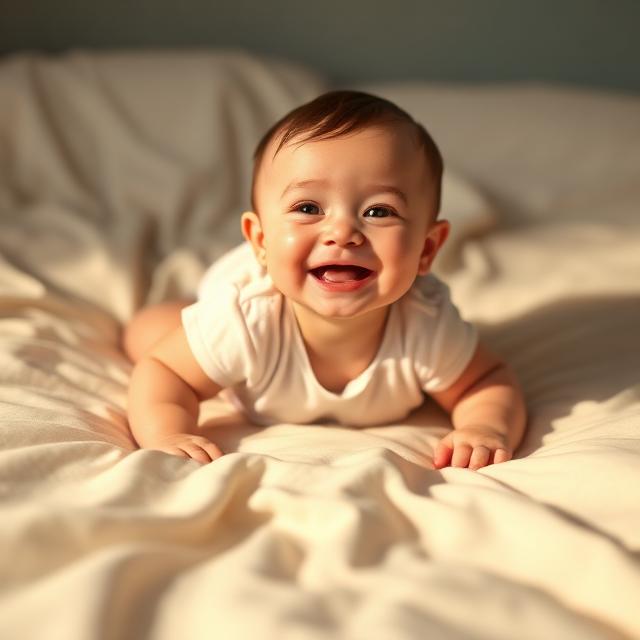
例 1
リアルな赤ちゃん動画(プロンプト→動画)
テキストから動画(プロンプト → 動画)
この例の使い方
- 1.ツールを開く。
- 2.モードを選択:テキストから動画(プロンプト → 動画).
- 3.入力ファイル不要(プロンプトのみ)。
- 4.入力内容を確認し、下に表示された設定を選びます。
- 5.生成し、必要に応じて調整(トリミング/照明/プロンプト)。
設定(この例で使用)
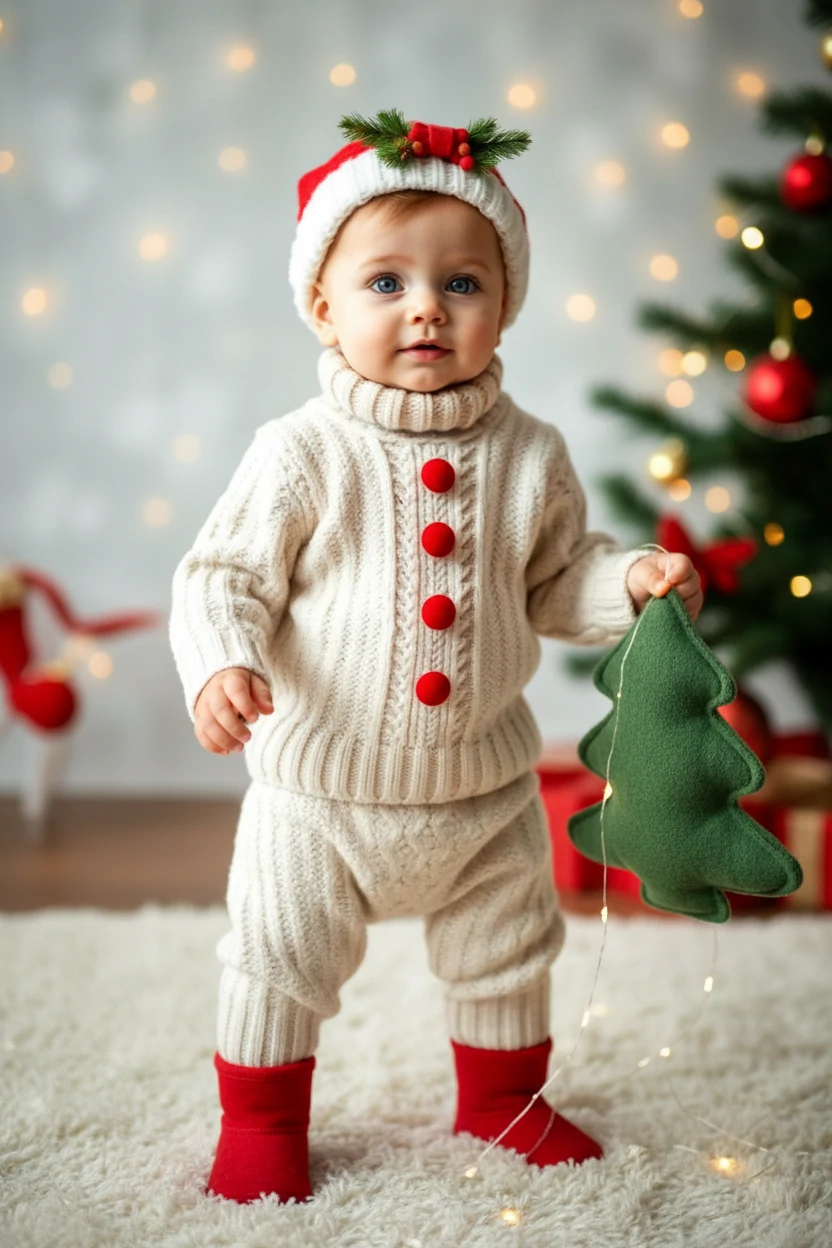
例 2
赤ちゃん写真をアニメーション化(写真→動画)
画像から動画(写真 → 動画)
この例の使い方
- 1.ツールを開く。
- 2.モードを選択:画像から動画(写真 → 動画).
- 3.以下に示す入力ファイルをアップロード。
- 4.入力内容を確認し、下に表示された設定を選びます。
- 5.生成し、必要に応じて調整(トリミング/照明/プロンプト)。
入力
入力 1
設定(この例で使用)
例 3
テンプレート風モーション(写真→動画)
画像から動画(写真 → 動画)
この例の使い方
- 1.ツールを開く。
- 2.モードを選択:画像から動画(写真 → 動画).
- 3.以下に示す入力ファイルをアップロード。
- 4.入力内容を確認し、下に表示された設定を選びます。
- 5.生成し、必要に応じて調整(トリミング/照明/プロンプト)。
入力
入力 1
設定(この例で使用)
ヒント
- モーションをシンプルに保つ(まばたき、笑顔、手を振る)。複雑なアクションはアーティファクトを増やします。
- 顔が大きくなるようにクロップを締めますが、揺れを減らすために肩を含めます。
- よりリアルな顔にするために、きれいな背景と良好な照明を使用します。
- 反復ごとに1つの変数(プロンプトまたはクロップまたは比率)を変更して、より早く学習します。
よくある質問
リアルな結果を得るにはどの方法が最適ですか?▼
写真→動画は通常、リアルな顔により一貫性があります。特に鮮明なベビー写真から始める場合。
どのアスペクト比を使用すべきですか?▼
TikTok/Shortsには9:16を使用。YouTubeには16:9を使用。最初からターゲットプラットフォームに合わせます。
なぜ顔が不安定またはぼやけて見えるのですか?▼
ほとんどの問題は、低品質の入力または過度な/不正確なクロップに起因します。よりクリアな写真を使用し、顔を中央に保ち、モーションの複雑さを減らします。
生成する準備はできましたか?
ツールを開いて、上記のプロンプト/設定を再利用してください。