모든 가이드로 돌아가기
2026-01-12
AI 아기 영상 만드는 방법
이 가이드는 가장 간단한 워크플로우를 안내합니다: 올바른 방법 선택, 명확한 입력(사진 또는 프롬프트) 사용, 올바른 비율 설정, 그리고 생성. 먼저 단계를 따르고, 아래의 실제 예제를 재사용하세요.
빠른 단계
1분 이내에 완료할 수 있는 빠른 체크리스트.
- 1아기 영상 도구를 엽니다.
- 2방법 선택: 사진→영상 (더 일관됨) 또는 프롬프트→영상 (더 창의적).
- 3명확한 정면 사진을 사용하거나 짧은 동작 중심 프롬프트를 작성합니다.
- 4화면 비율 설정 (TikTok/Shorts용 9:16) 및 짧은 재생 시간 유지 (5초로 시작).
- 5생성 후 반복: 필요시 크롭/조명 개선 및 동작 단순화.
- 6내보내기 및 게시 (더 나은 유지율을 위해 자막 추가).
선택 가능한 도구 옵션
모드:텍스트에서 비디오로이미지에서 비디오로
화면 비율:9:1616:9
길이:5s10s
해상도:480p720p1080p
- 이미지에서 비디오로 모드에서 오디오를 활성화하면 해상도가 표시됩니다.
튜토리얼 예제(프롬프트 및 설정 포함)
아래의 각 예제는 이 가이드를 위해 미리 선택되었습니다(무작위 아님).
예제 1
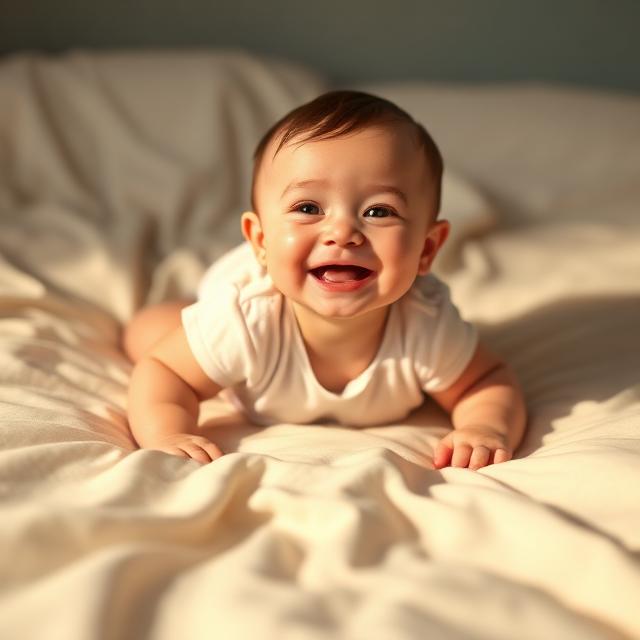
리얼 아기 영상 (프롬프트 → 영상)
텍스트에서 비디오로(프롬프트 → 비디오)
이 예제 사용 방법
- 1.도구를 엽니다.
- 2.모드 선택: 텍스트에서 비디오로(프롬프트 → 비디오).
- 3.입력 파일이 필요 없습니다 (프롬프트만).
- 4.입력 내용을 확인하고 아래에 표시된 설정을 선택하세요.
- 5.생성하고 필요에 따라 반복하세요 (자르기/조명/프롬프트).
설정 (이 예제에서 사용)
예제 2
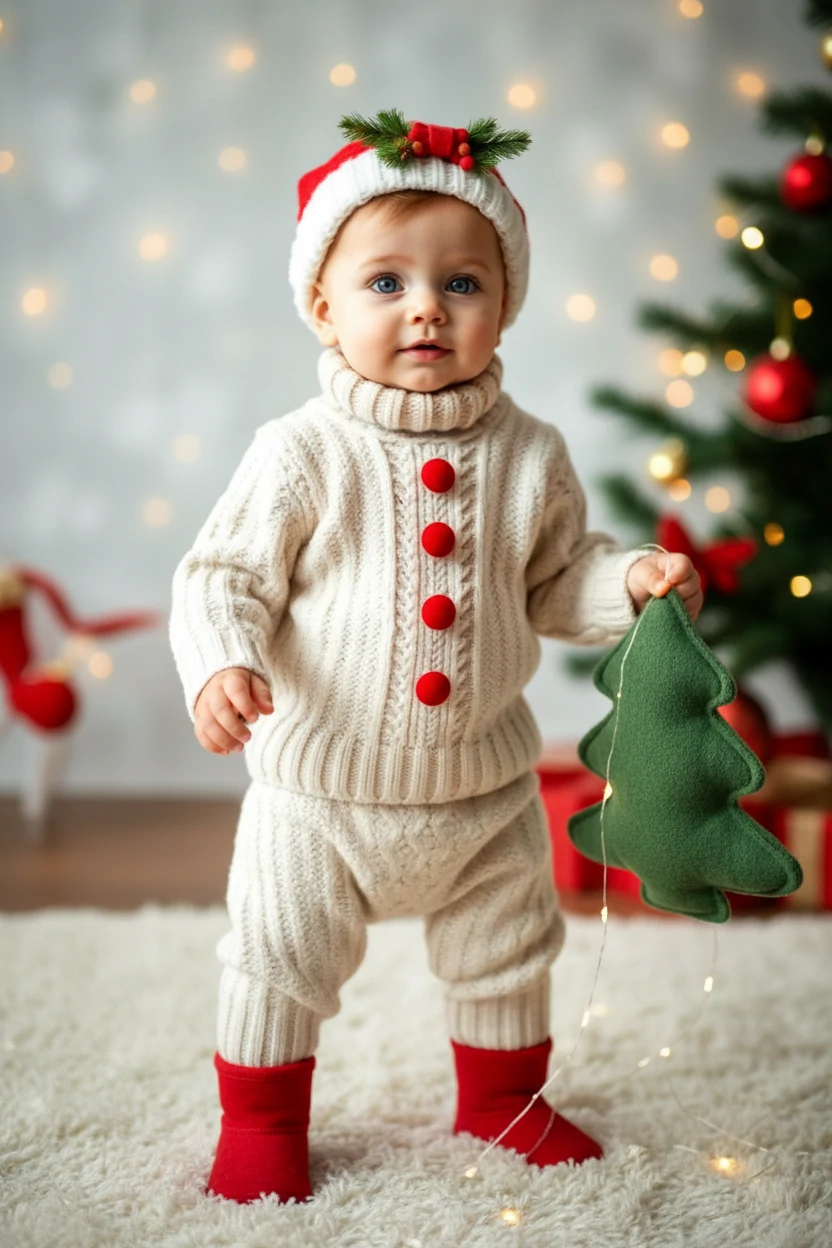
아기 사진 애니메이션 (사진 → 영상)
이미지에서 비디오로(사진 → 비디오)
이 예제 사용 방법
- 1.도구를 엽니다.
- 2.모드 선택: 이미지에서 비디오로(사진 → 비디오).
- 3.아래에 표시된 입력 파일을 업로드하세요.
- 4.입력 내용을 확인하고 아래에 표시된 설정을 선택하세요.
- 5.생성하고 필요에 따라 반복하세요 (자르기/조명/프롬프트).
입력
입력 1
설정 (이 예제에서 사용)
예제 3
템플릿 스타일 모션 (사진 → 영상)
이미지에서 비디오로(사진 → 비디오)
이 예제 사용 방법
- 1.도구를 엽니다.
- 2.모드 선택: 이미지에서 비디오로(사진 → 비디오).
- 3.아래에 표시된 입력 파일을 업로드하세요.
- 4.입력 내용을 확인하고 아래에 표시된 설정을 선택하세요.
- 5.생성하고 필요에 따라 반복하세요 (자르기/조명/프롬프트).
입력
입력 1
설정 (이 예제에서 사용)
팁
- 동작을 단순하게 유지 (눈 깜빡임, 미소, 손 흔들기). 복잡한 동작은 아티팩트를 증가시킵니다.
- 얼굴이 더 크게 보이도록 크롭을 조이되, 흔들림을 줄이기 위해 어깨를 포함합니다.
- 더 사실적인 얼굴을 위해 깨끗한 배경과 좋은 조명을 사용합니다.
- 더 빠른 학습을 위해 반복당 하나의 변수만 변경 (프롬프트 또는 크롭 또는 비율).
자주 묻는 질문
사실적인 결과에 가장 좋은 방법은?▼
사진→영상은 일반적으로 사실적인 얼굴에 더 일관되며, 특히 선명한 아기 사진으로 시작할 때 그렇습니다.
어떤 화면 비율을 사용해야 하나요?▼
TikTok/Shorts에는 9:16을 사용합니다. YouTube에는 16:9를 사용합니다. 처음부터 타겟 플랫폼에 맞추세요.
얼굴이 불안정하거나 흐릿해 보이는 이유는?▼
대부분의 문제는 저품질 입력 또는 너무 타이트하거나 잘못된 크롭에서 발생합니다. 더 선명한 사진을 사용하고, 얼굴을 중앙에 유지하며, 동작 복잡성을 줄이세요.
생성할 준비가 되셨나요?
도구를 열고 위의 프롬프트/설정을 재사용하세요.